

Positional Understanding 2.0
Positional Understanding 2.0
Overriding Conventional Wisdom

Positional chess is a complicated topic.
There is a lot that can be learned here — quite frankly, far more than any one article could ever hope to cover.
However, what I wanted to investigate in this article are some of the moves in chess that look “anti-positional”, but are paradoxically quite strong.
Some would call this “strategy”, or perhaps “dynamics”.
But, I like to view this as almost a higher-resolution version of one’s positional understanding — hence, ‘Positional Understanding 2.0’.
The Misplaced Knight
To start with, let us examine one of the most topical opening positions across almost all levels of chess:
Here, Black has many options: …c6, …Be7, …c5, …Nbd7, …Bb4, …dxc4, …a6, and heck, even …h6 has become a thing lately.
However, notice that …Nc6 did not make this long list.
While this is very common at lower-levels (esp. sub 1000), any seasoned player will immediately understand that …Nc6 is more or less just a positional mistake — blocking in Black’s c-pawn.
It is not for no reason that 5.Qa4+ is one of the main lines in the Ragozin (4…Bb4), forcing Black to place their knight on c6 (of course, in exchange for spending some time with the queen early on).
So logically, Black playing such a move unprovoked must be a mistake then, right?
However, like all things in chess, there are exceptions.
It is these exceptions that I find particularly interesting.
A Nasty Opening Surprise
One of the main motives for this article, was because of a game I had earlier in March this year — where I was faced with a tricky idea from my opponent early on in the opening.
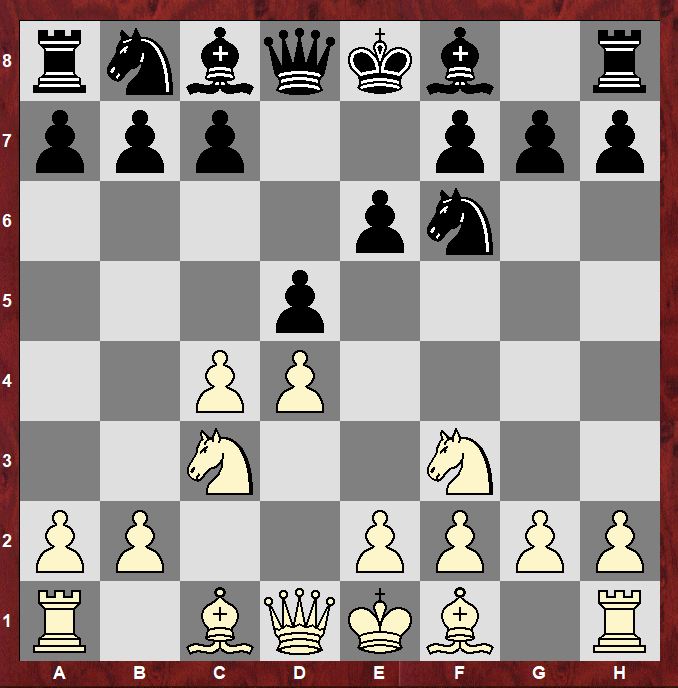
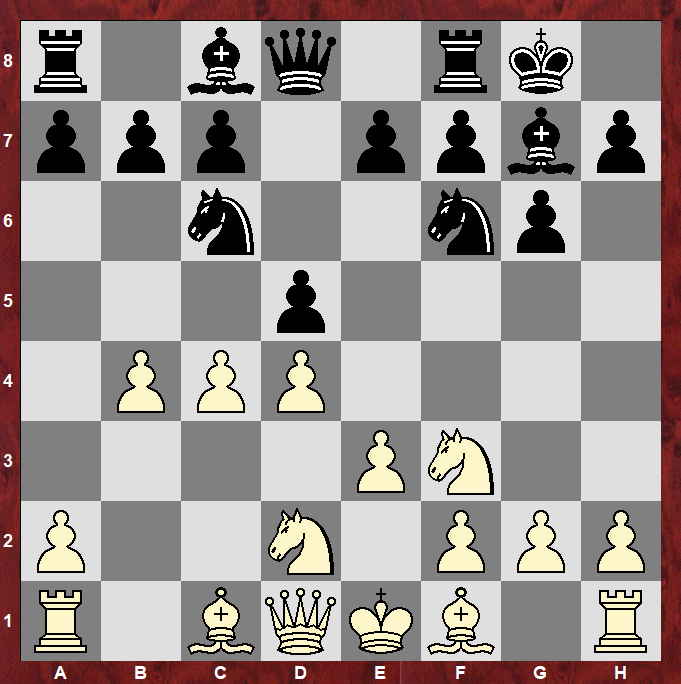
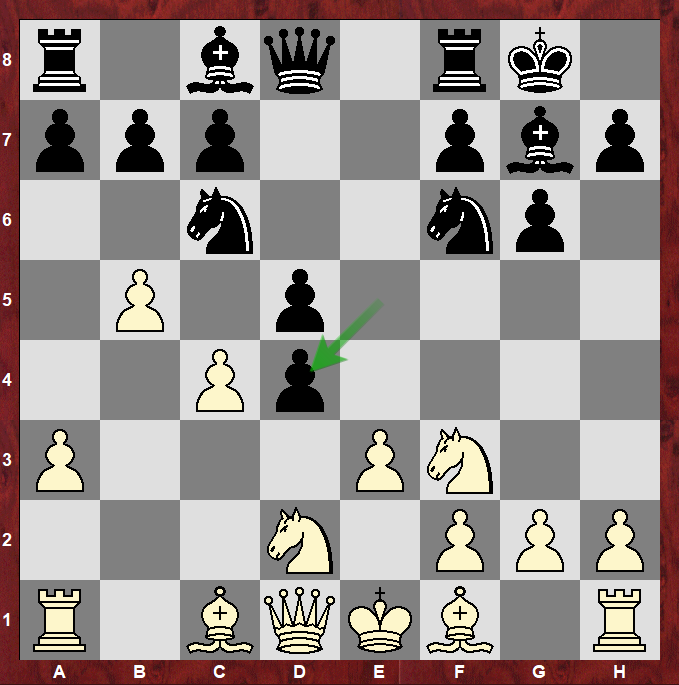
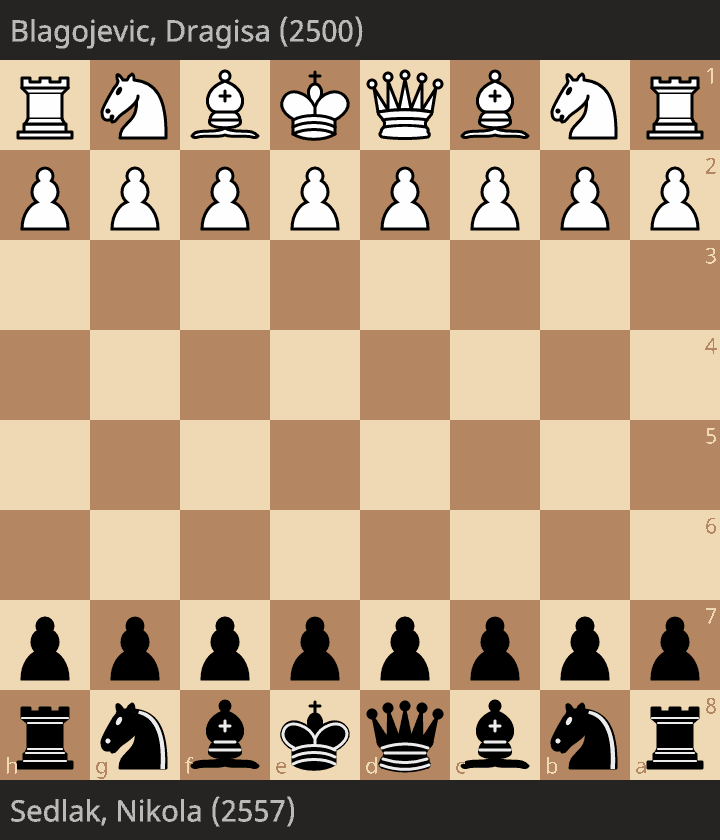
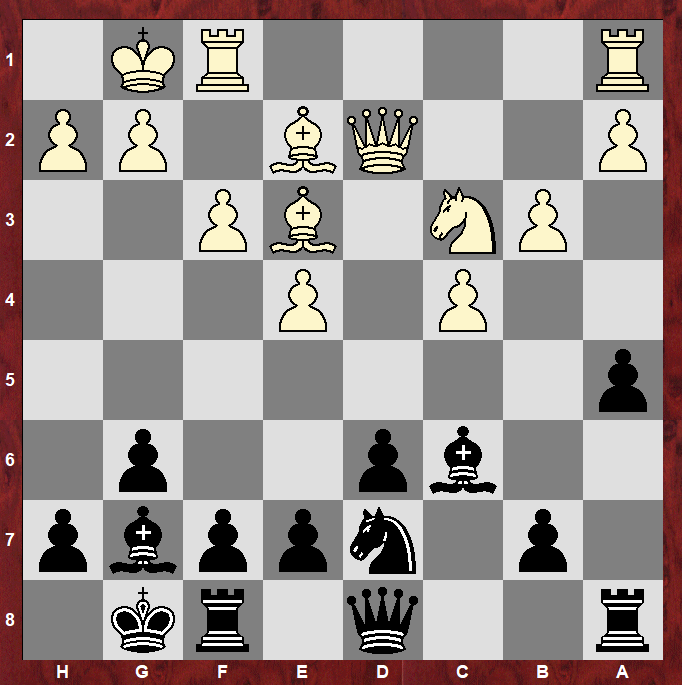
After playing the rather rare 1.d4 Nf6 2.Nf3 g6 3.Nbd2!?, we got the following position on the board on move 6:

Given my opponent was a King’s Indian Defense (KID) player, I figured already this was already a satisfactory result, taking my opponent away from a structure he would typically be comfortable in.
One of the most common approaches for Black is 6…c6 — when the position resembles more of a Slav or Grunfeld, than a KID.
However, my opponent had more devious intentions in mind.
After 1-2 minutes of pondering his move, he decided to play 6…Nc6!? — a move which I had never studied, nor encountered in my 15-20 blitz games I had played out from this position.
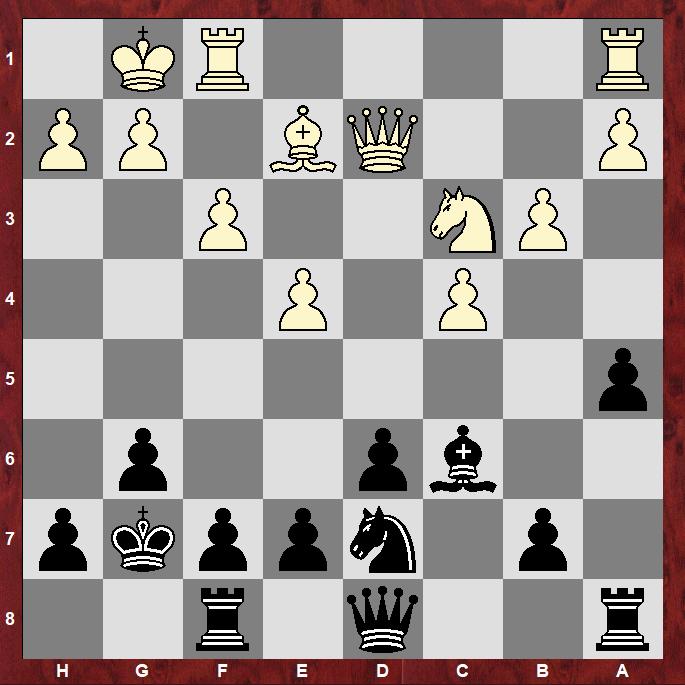
Of course, my first thought was that this is positionally dubious, and that after 7.a3, the knight should simply be misplaced.
But, I knew that my opponent was no idiot, and that he probably had some concrete idea behind this.
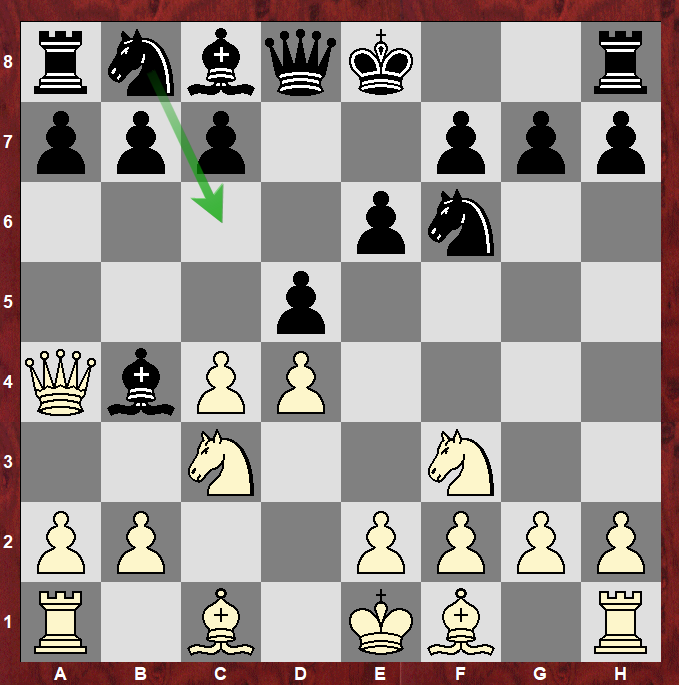
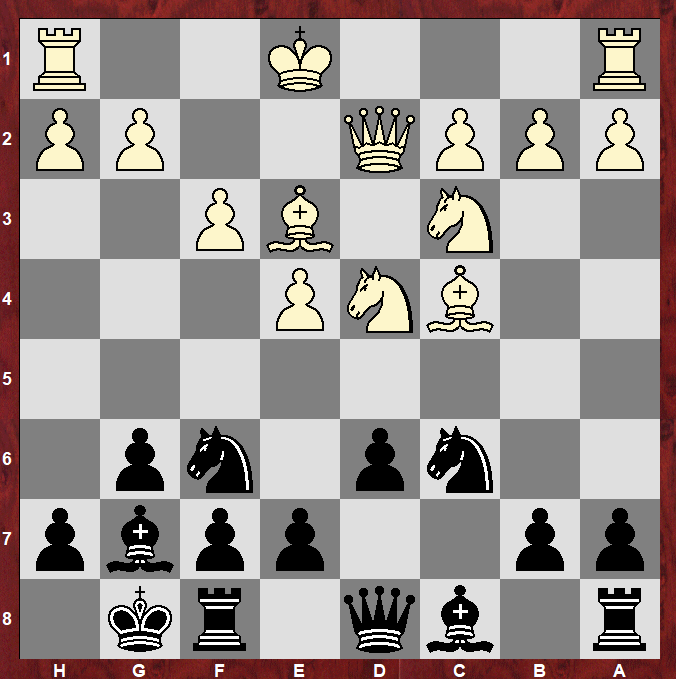
Immediately, my eyes were drawn to this move 7…e5!? — trying to blast open the center (and also quite importantly, the a1-h8 diagonal), exploiting White’s lagging development.
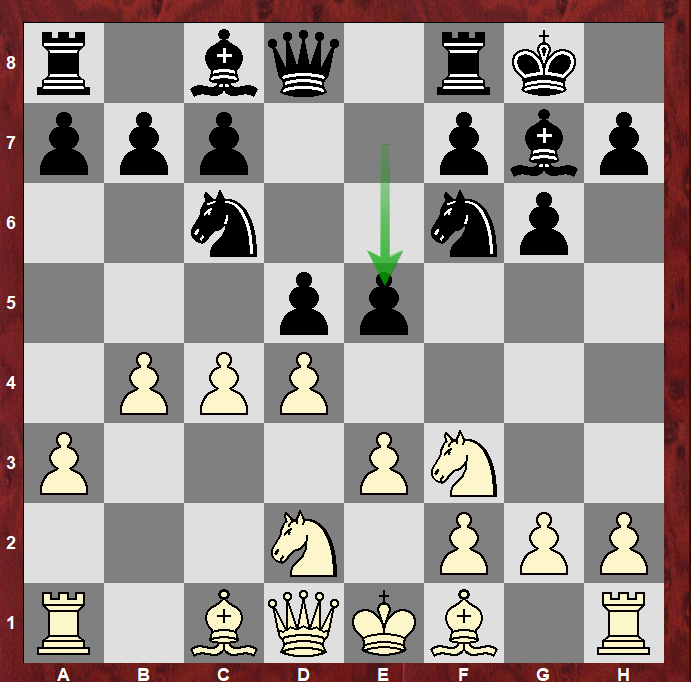
Naturally, I was first curious about what would happen after 8.dxe5, but was not too thrilled with what I saw after …Ng4 9.cxd5 Ncxe5.
However, it is also very natural to consider a move such as 8.b5, when White seemingly just wins material.
If the knight moves, then White will immediately pounce with Nxe5, winning a pawn.
Unfortunately, it soon dawned on myself that my opponent’s knight was not going to budge, and rather 8…exd4! was likely the move I would be faced with (had I chosen this route).
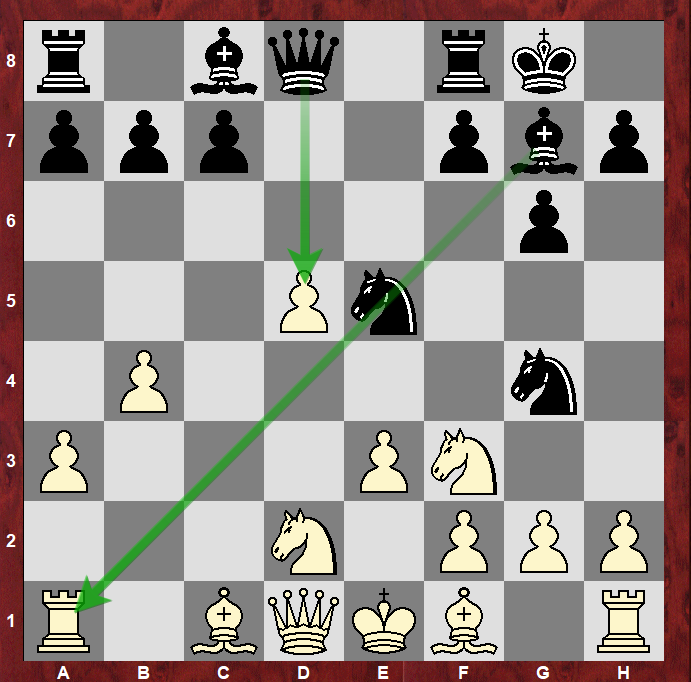
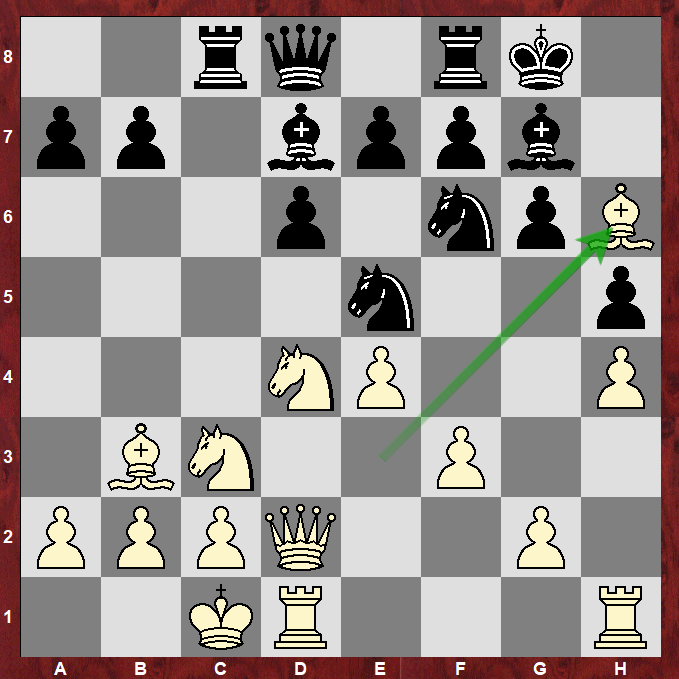
If White simply plays 9.exd4, Black can play …Na5, and now Black seems to just stand better with White’s overextended queenside pawns.
So, taking the knight is principled, but I had enough foresight to see that 9.bxc6 fxe3 10.fxe3 Ng4! would be problematic.
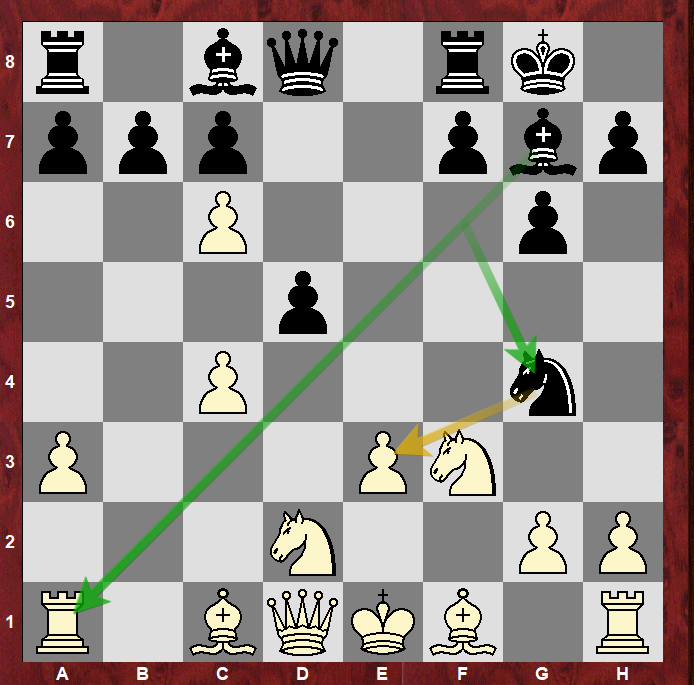
While I wasn’t 100% confident that this sacrificial line was correct, it was enough for me to be deeply suspicious of this move 7.a3 for White.
It turned out my suspicion was justified, and that the position after 7.a3 e5! is not only OK, but already slightly better for Black (assuming White plays perfectly, that is).
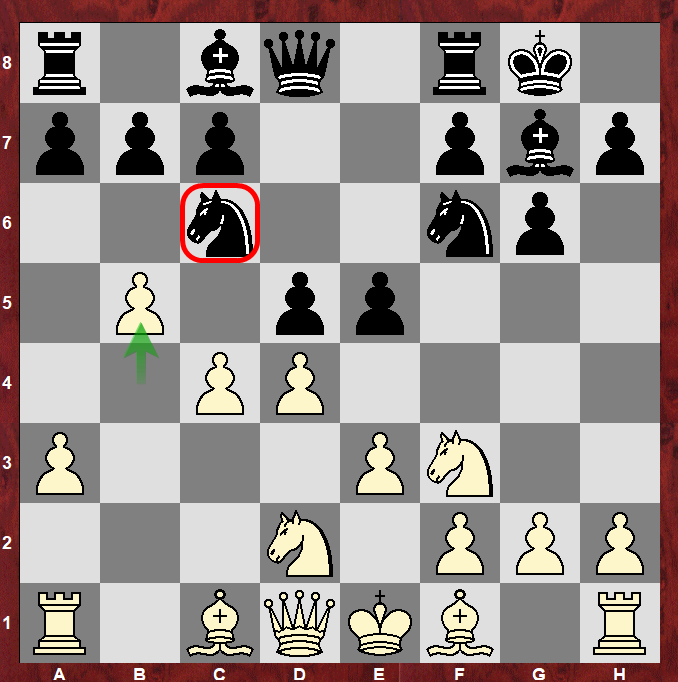
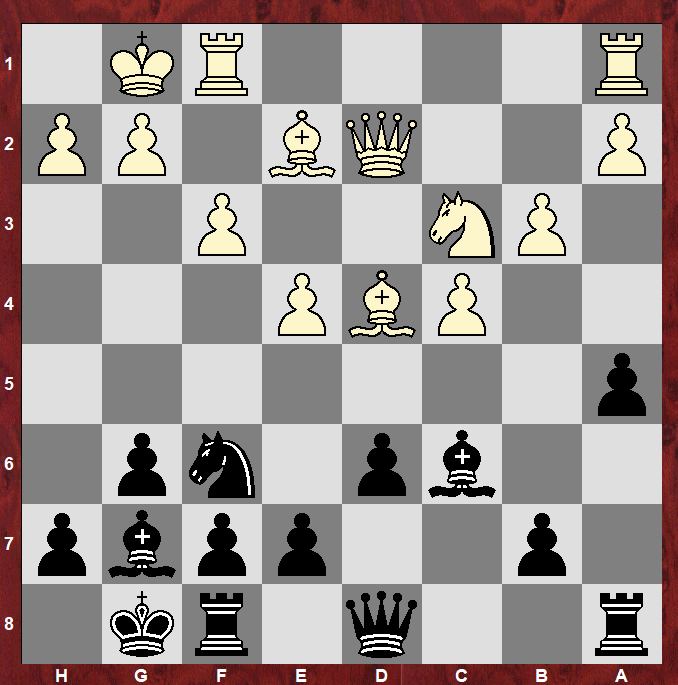
Which, is why I ended up settling for 7.b5 — a move which now justifies this knight’s existence on c6, as it can jump into a5, and put pressure on White’s c4 pawn.
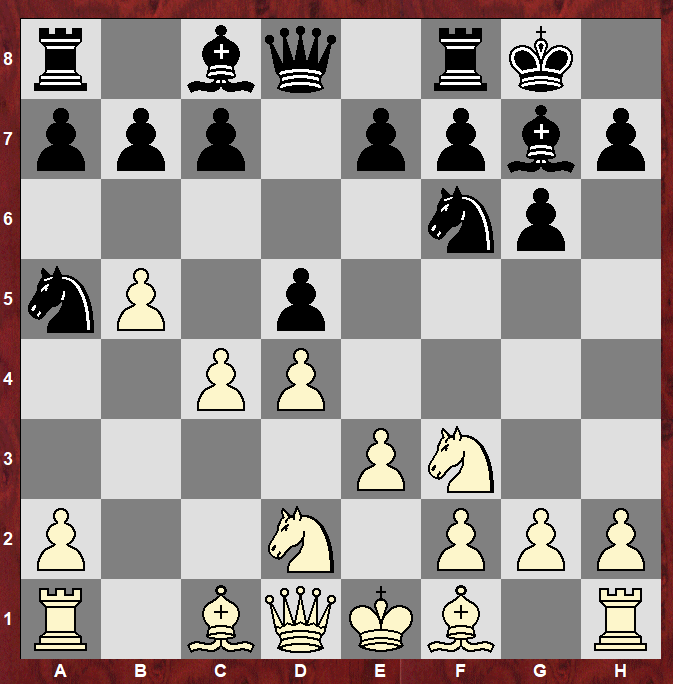
Black is already equal, or very close to it.
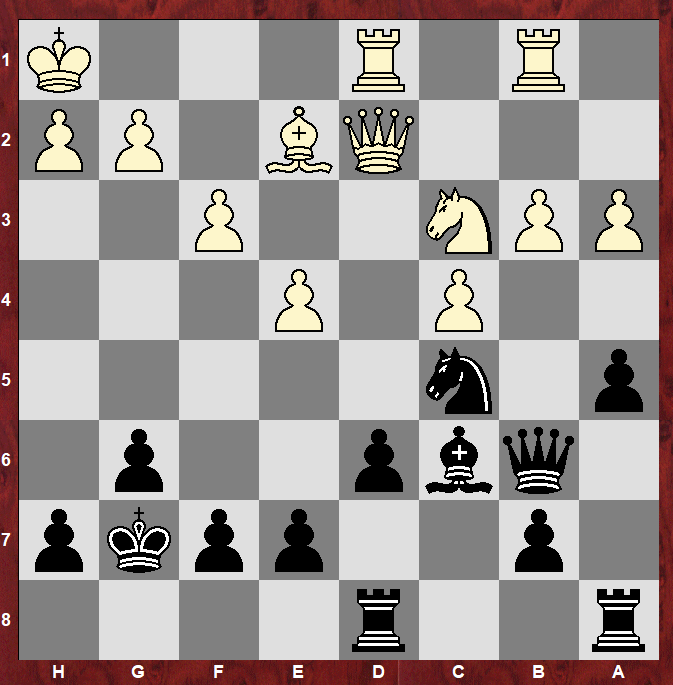
The game got complicated later on, but unfortunately resulted in a loss after missing a brilliant tactical idea from my opponent.
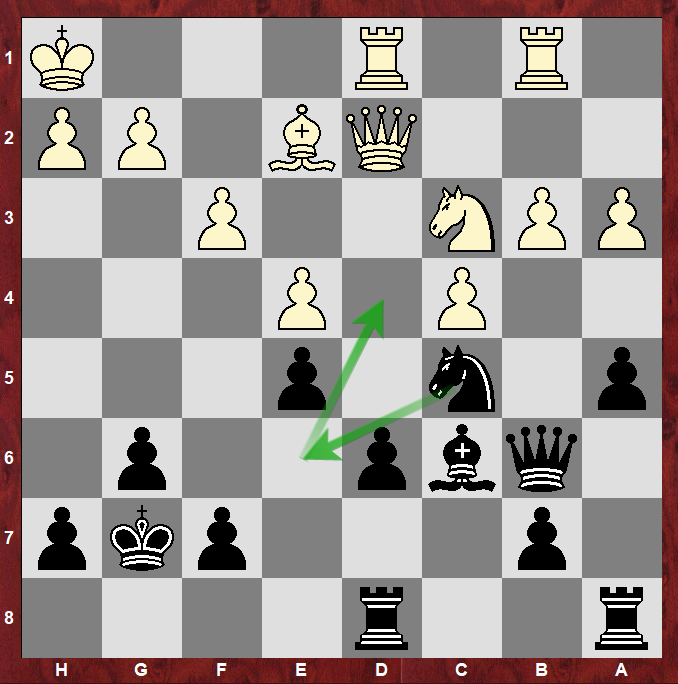
So, while on the surface this 6…Nc6 move looked superficially wrong, it is clear in hindsight that it was justified in view of White’s lagging development, and vulnerable a1-h8 diagonal (from playing b4).
It is also worth noting that if White could play two moves in a row, then 7.a3 and 8.Bb2 would secure a nice positional edge — as is typical for such positions with a pawn on d5 and knight on c6.

An Honourable Mention
While I don’t want to spend all day on this single concept, I thought it was also worth mentioning a cool idea of Richard Rapport’s in the Stonewall Dutch, where he sometimes omits …c6 in favour of the highly unusual …Nc6!?.
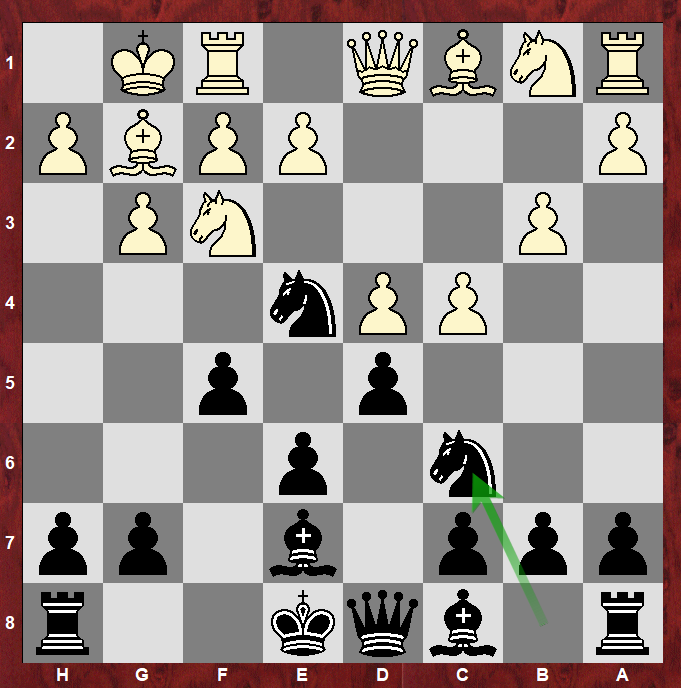
Even more crazy though is the follow-up of 8.Bb2 h5!! (believe it or not, this is actually sound).
Here is an example of a GM being slaughtered in this line:
The Fianchettoed Bishop
Another very well known positional concept is that of the fianchettoed bishop, and it’s role in keeping the king safe.
Generally, trading this bishop off is not advised.
As such, the side playing against it will often go out of their way to exchange off this bishop, in order to create attacking chances.
For a long time, I believed that any sort of exchange like this generally carried a lot of risk for the side with the fianchetto.
And, well, it often does.
But, believe it or not, there are also positions in which Black will actively seek out this exact trade.
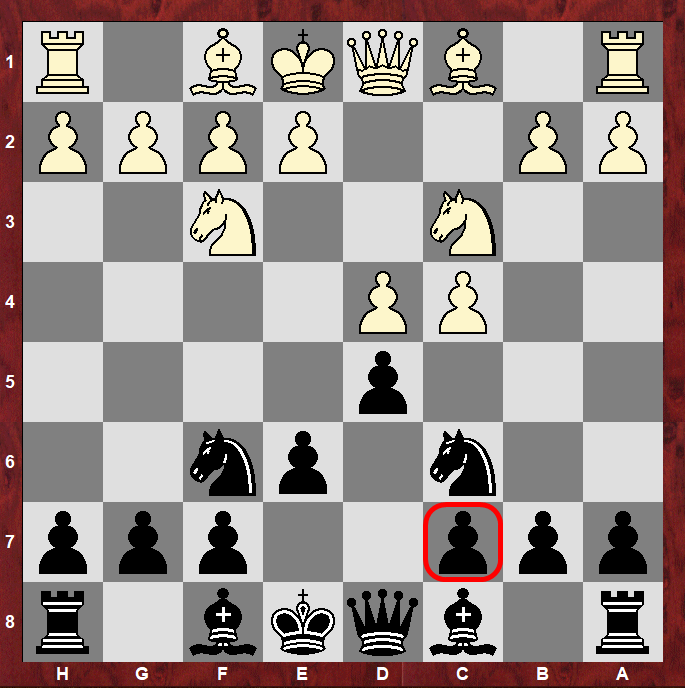
For example, here is a common theoretical position with the Maroczy Bind structure — which can occur via various openings, but usually the Accelerated Dragon.
Here, Black’s main move is by far 13…Nd7 — which to many would look a bit odd, allowing an exchange of our precious fianchettoed bishop.
What may also be confusing to many, is that White’s main response is to avoid this trade, and retreat with 14.Be3!.
It was for me, the first time I witnessed it.
But to understand why this is, let us examine what may happen after 14.Bxg7 Kxg7.
First of all, it is worth comparing this to the opposite-side castling positions we saw earlier from the Sicilian Dragon — where trading the fianchettoed bishop is usually not in our interest.
There are some stark differences though, the main ones being the presence of same-side castling, and the Maroczy Bind structure — which inherently weakens the dark-squares, due to all the pawns being on light-squares.
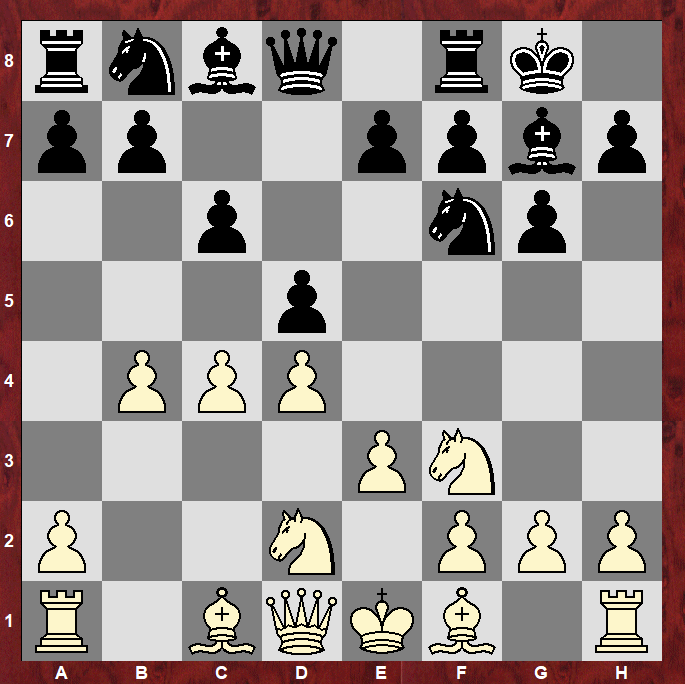
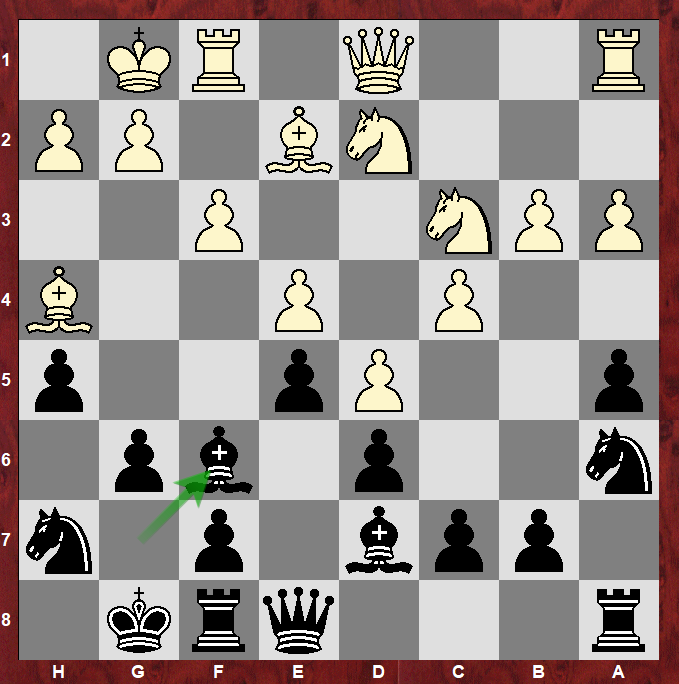
Following some natural moves for both sides, the following position could be reached:
It seems like White is going to play b4 next, continuing to push forward.
However, Black now has the nice idea of 18…e5!, preparing the maneuver …Ne6-d4!
And finally, we are seeing that White’s trade of DSBs may have had some unintended consequences.
Another example of this exchange in action is this position from the Petrosian variation of the King’s Indian.

Here, the most common theoretical choice is 14…Bh6, with the idea of plopping the bishop on the e3 square, if allowed.
However, a move that I also quite like is 14…Bf6!?, trying to more directly trade off the DSBs.
Again, with the same-side castling, and White pawns stacked on light-squares, this trade of DSBs is actually highly desirable for Black.
So much so, that again White’s most common approach is to retreat their bishop to f2.
Concluding
While this article was a bit longer than my usual ones, I hope that this has been valuable in some way, and has been as fascinating for you as it has been for myself.
Very nice article, Sam! You explained these positional things very well and I took a lot from it. I like especially the final part about trading Black dark square bishop. Thank you!